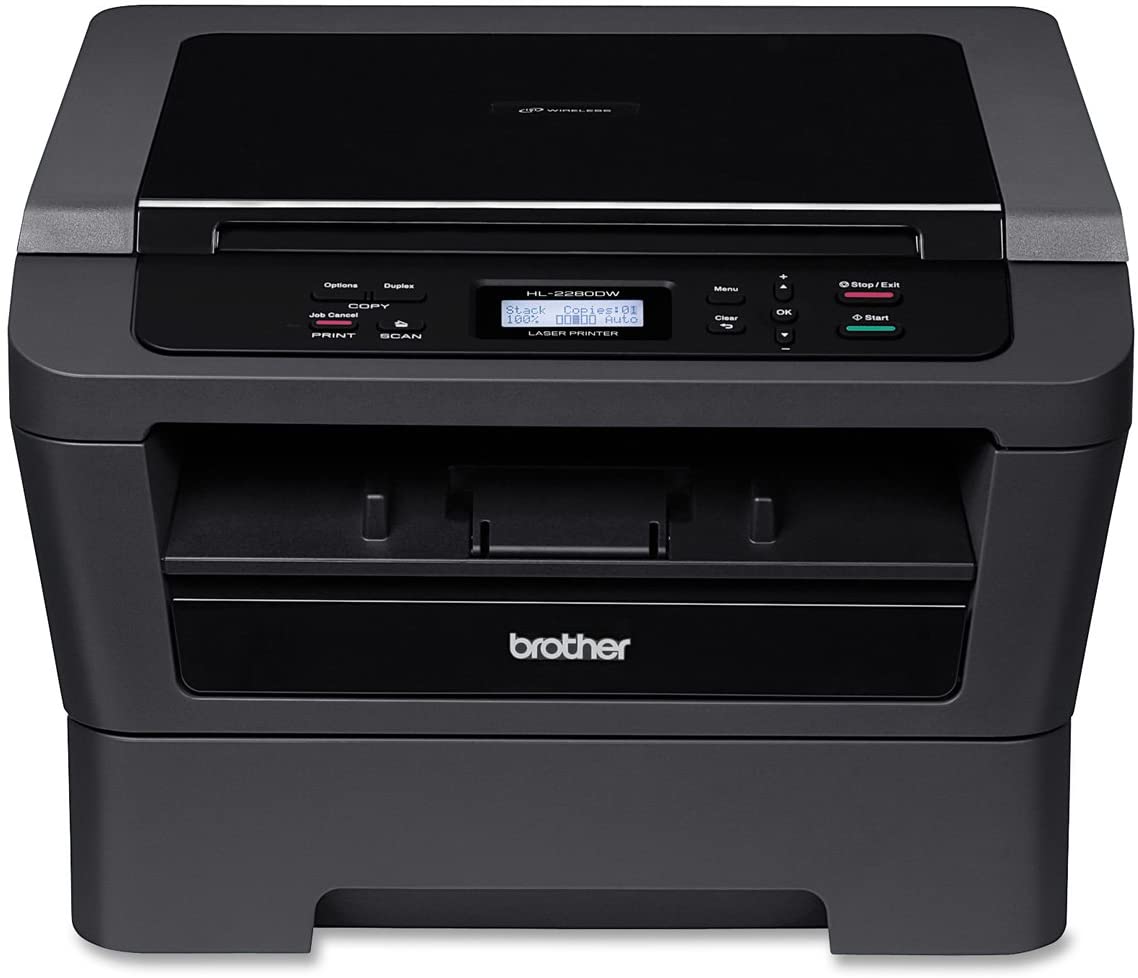
Have you ever been in such a situation that you connected your Brother Printer with your Windows 11-based system and it showed nothing? Nothing means, nor the printer get connected to your system, neither you are able to print something using the device.
Well in such a situation, you might think that your printer or the port of your system is not working properly. But before all that, you need to think about whether you have installed your Brother printer drivers on your system or not.
Because when you don’t have the right drivers installed on your Windows 11 system, you will not be able to connect with your driver. If this is your current situation, then you are at the right place, as here we are going to discuss the steps to follow to install Brother Printer drivers on Windows 11.
How to install Brother Printer drivers on Windows 11?
Getting the Brother printer drivers installed is an easy task, but some people are unable to install it on their Windows 11 system, below listed are the steps that you can use to fulfill your goal of connecting the Brother Printer with your Windows 11 PC.
Step 1: Visit the Brother Support site:
Firstly you need to look for the driver installation CD in your brother’s printer package, although everyone gets a driver installation CD with their printer, but in case if you have misplaced it, then you don’t need to worry about it. As you can directly visit the Brother support site to find and download the relevant drivers for your printer.
Step 2: Select your Printer Model:
In the next step, you would have to select and find your printer’s model, so that you can download the drivers. For this process, you would need to know the exact model name of your printer. You can check the box of your Brother Printer or read the user manual of your printer to find out the model number and name of your driver.
Later, you need to enter the model number or name of your Brother Printer in the search bar of the Brother support site. Through this step you will get the suggestion of your Brother Printer, you need to click on it.
Step 3: Download the drivers:
You will reach a new page after selecting your Brother Printer suggestion, you need to find out the “Download Drivers” section through which you can download your Brother Printer drivers.
Step 4: Run the driver installer:
Once the downloading process is complete, you need to find the downloaded file and run the installer. During the installation process, you will be given a lot of instructions, make sure you are following them precisely and installing the drivers.
In case you fail to follow those instructions, there are high chances that your printer drivers will not be installed properly and you will not be able to connect the printer to your Windows 11 PC.
Step 5: Connect your printer:
At last, after the drivers have been installed, you need to connect your printer using the USB connection and complete the setup. Once everything is done, you need to restart your PC.
After restarting your PC, you can check out your printer by doing a sample print. Try to carry out different types of prints such as black and white, colored, and more to know if your printer works fine or not.
CONCLUSION
Installing Brother printer drivers on your Windows 11 is an easy task, it’s just that you need to know the right steps. And through this guide, we have shared a step-by-step guide to help you install those drivers on your Windows 11 PC, we hope we were able to resolve your issue effortlessly.